Updated on 22/12/2017 to add two other ways of generating a CSR (see below).
In this post I'm going to look at how quick and easy (and cheap) it is to procure and install a SSL certificate on your Qlik Sense deployment. This assumes you are starting with only the self signed certificates, and that you want to use a certificate generated by a signing authority for use on an externally facing site.
A couple of things to note:
-
I'm using Qlik Sense Enterprise 3.1 with a single-node deployment using the default settings
-
You have a choice of verification methods - I chose to use DNS by adding a CNAME (pointer) to my chosen domain, and managed this through a linux DNS host. You can also verify through email or http (placement of a file)
-
I've used a basic certificate from PositiveSSL that offers only domain validation (DV). Certificates offering greater levels of protection and assurance are also available
-
The server is running Windows Server 2012 R2 with IIS 8, which is up-to-date with the latest updates at time of writing (January 2017)
On a clean installation of Qlik Sense Enterprise, you'll note that the domain fails SSL validation in most browsers. Why? Because the certificate is one that has been generated by your server, and not by a "trusted" certificate authority. Have a read of this page about Certificate Authorities if you're after further detail.
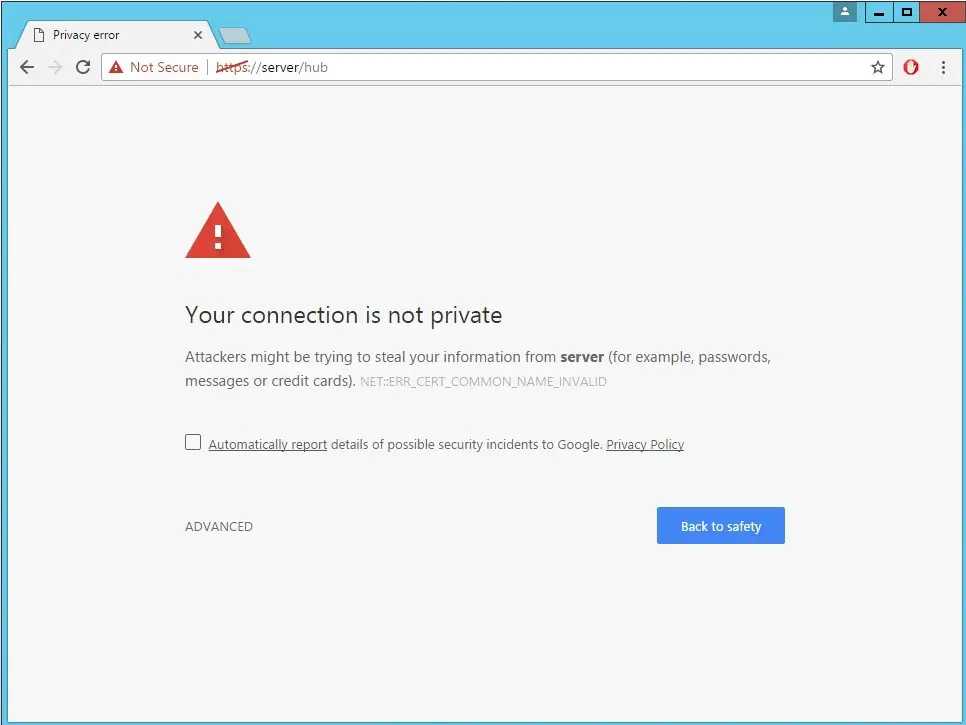
Most browsers will reject the self-signed certificate
So, let's have a look at what's installed on the server! You can get to the right place by diving straight into IIS, or checking the certificate manager (a snap in that’s part of the MMC).
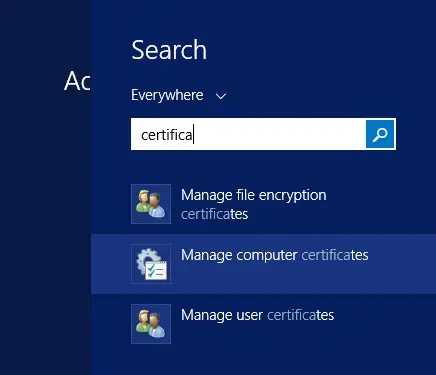
Finding the certificate manager in the start menu is quick and easy
Both of these elements are easily accessible through the start menu, so we’ll open the Certificate manager to see what we’re currently working with. On a new install, this will likely have a single certificate which corresponds to your machine’s host name – in my case it also includes an NVIDIA certificate that has been installed by some drivers on the system (we can ignore this).
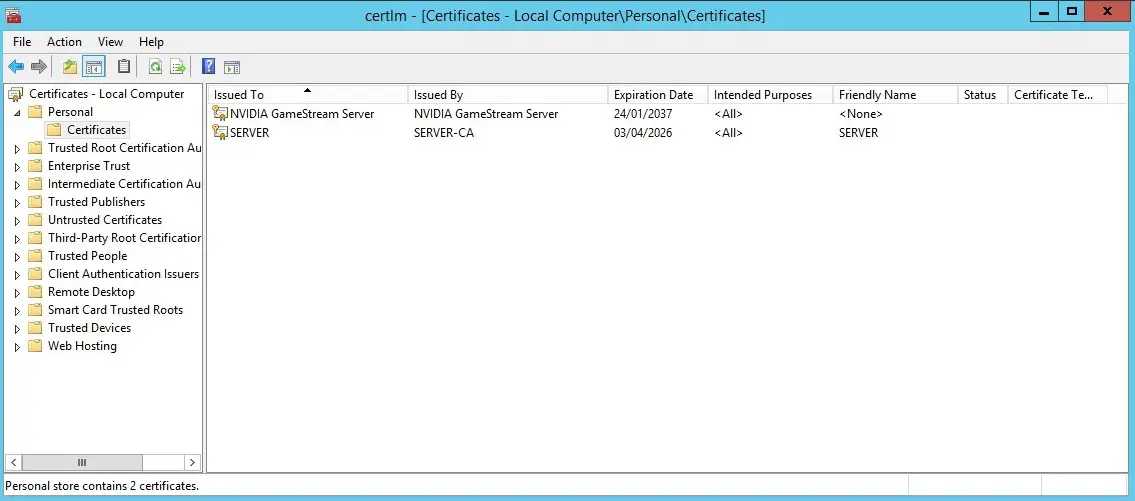
The certificate manager lets you explore which certificates are installed on your system
The SERVER certificate is a self-signed system certificate (from SERVER-CA – aka the server itself) to sign our connections to Sense. As it’s not from a trusted authority, it’s clearly shown as being untrusted when we visit the site in chrome.
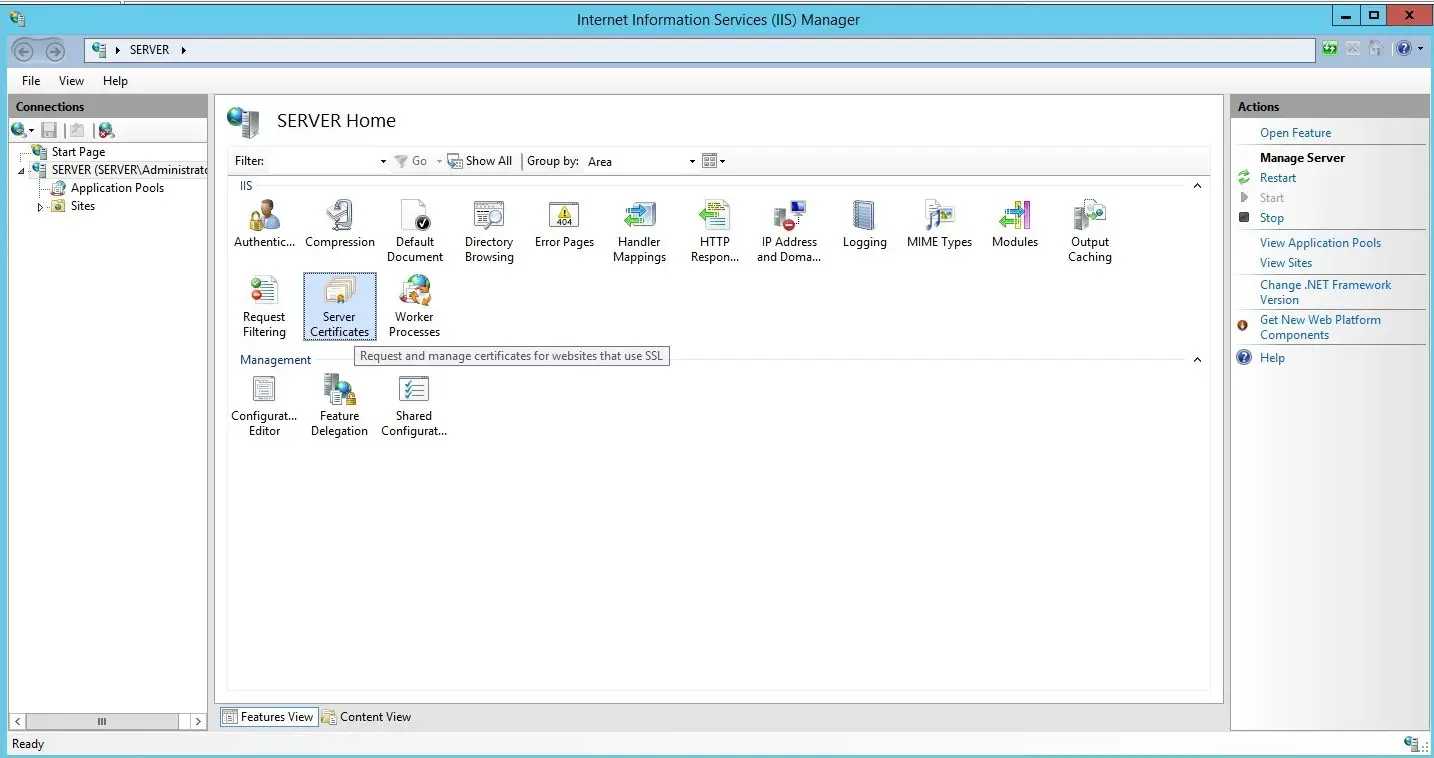
Certificate details are also accessible via IIS Manager
To add a new, trusted certificate to the server we need to follow a few steps:
- Generate CSR (certificate signing request – this comes from IIS and details specifics of the system and requester)
- Purchase a certificate from a trusted authority
- Pass the CSR generated by your server to the authority
- Validate that you control the domain in question (through email or DNS)
- Download the certificate generated by the authority and add it to the certificate store on the machine
- Update Qlik Sense Enterprise to use the newly added certificate
Once you've updated Qlik Sense Enterprise, the proxy will restart and you should be able to use the new certificate immediately. Note that you will likely need to end your current browser session to correctly validate the updated certificate.
1 - Generate CSR using IIS
We'll use IIS to generate a Certificate Signing Request (CSR) which will be used by our chosen certificate authority to generate a certificate.
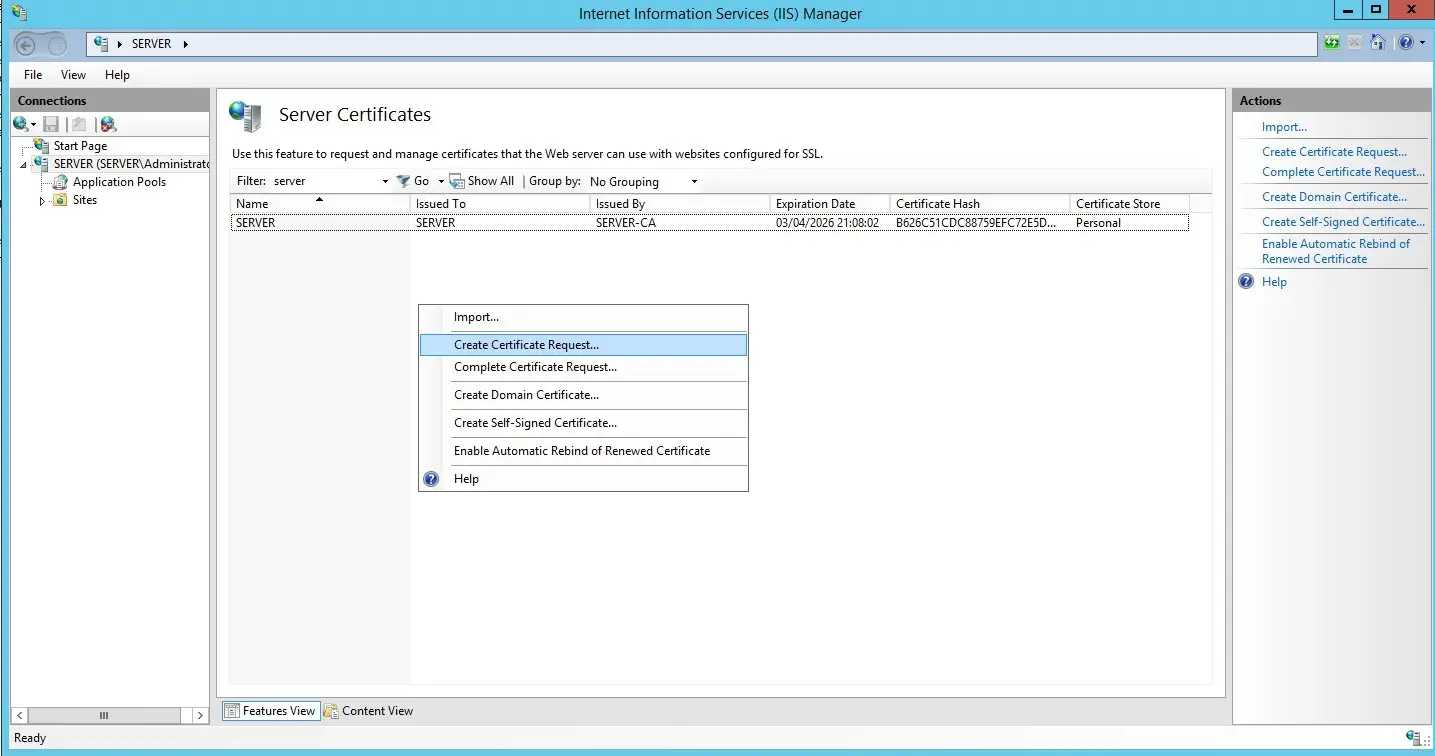
Use IIS Manager > Certificates to generate a CSR
By heading to the IIS Manager and looking at the Server Certificates tab, we can generate a CSR. The common name should match the domain in question - in the below example, our Qlik Sense Hub would be accessible from https://my.domain.com/Hub/. The certificate will be valid for only this domain with this configuration, although it is possible to request multi-domain and wildcard certificates (these will cost more).
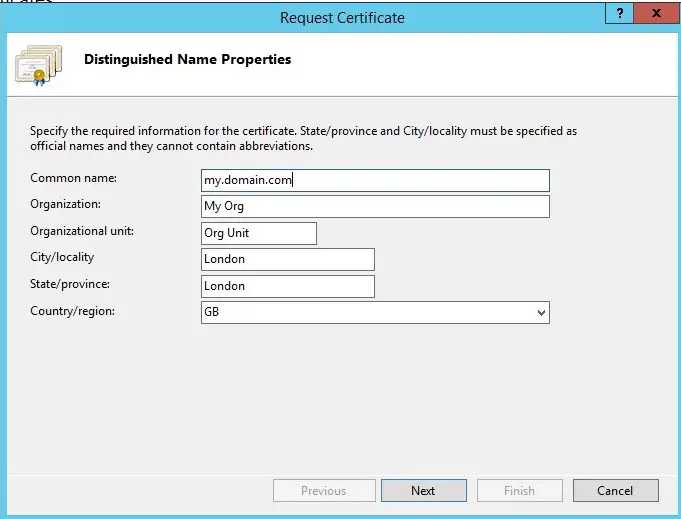
A CSR captures information about the domain and the owner
You will also need to specify a cryptographic service provider and bit length. Generally, longer bit lengths are more secure - but may impact performance. The Certificate Authority may specify which bit length they require.
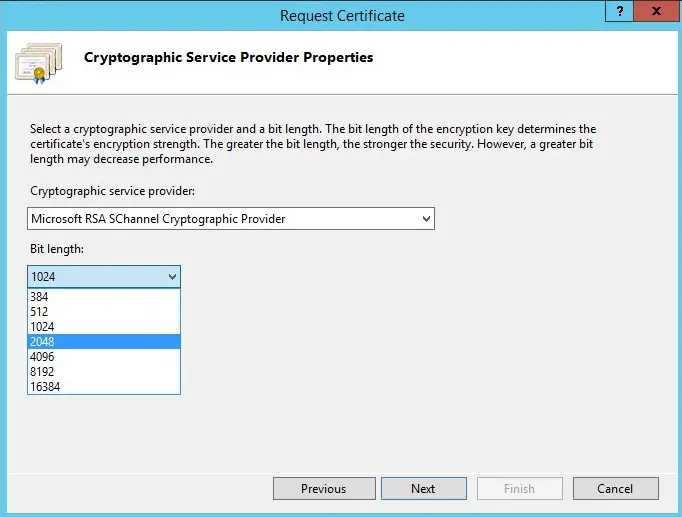
CSR Service Provider and Strength need to be supported by your Certificate Authority
You can then save the CSR file to disk - this will contain a hashed version of the information you've entered and a few other details.
2 - Purchase a Certificate from a Certificate Authority (or reseller)
There are many places that you can purchase a certificate online, and for this example I've gone with a PositiveSSL DV certificate through NameCheap. Resellers will often be cheaper than going direct to the authority, and will allow you to specify whether you want an IIS/Tomcat or Linux/Cpanel/etc certificate - it is important to select IIS/Tomcat as converting a Linux certificate requires a number of additional steps using OpenSSL.
3 - Pass the CSR generated on your server to the Certificate Authority (or reseller)
When purchasing, you should take the opportunity to copy and paste the CSR generated by your machine and validate that it has been loaded correctly by the certificate authority (check the domain and personal details match).
4 - Validate that you control the domain in question
As part of Domain Validation (DV) certificates you will need to prove that you control the domain. Higher certification levels will also validate your identity and that of the organisation the domain is registered to, which involves identity checks and document validation.
For DV however, you generally have three options:
- Have an email sent to an address at the requested domain - e.g. [email protected]. You will need to click a link in this email to confirm receipt
- Change the domain's name server (DNS) settings to include a custom record. This may be a CNAME record (pointing to another domain), or a TXT record (a text-only record)
- Verify through HTTP by placing a file into your web directory. This isn't ideal for a Sense deployment as we aren't using native IIS.
5 - Download the certificate generated by the authority and add it to the certificate store on the machine
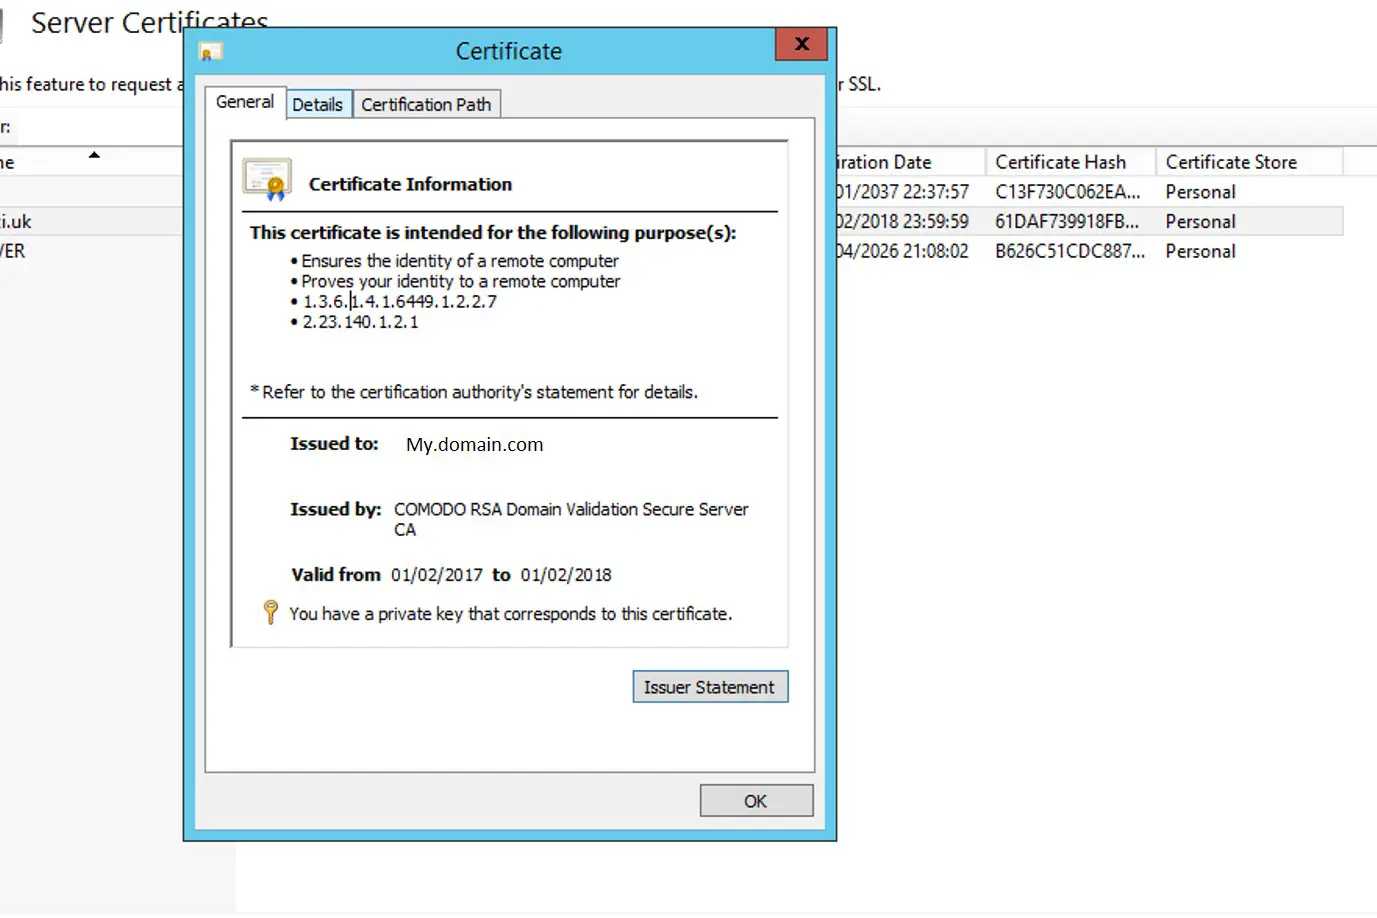
Once you've validated domain control with the Certificate Authority, you can download the Certificate (for IIS/Tomcat this should have a .cer file extension - if you have .crt or other extensions then you may have the linux version and will need to convert it for use).
Go back to IIS and select the "Complete Certificate Request" option (as seen in step 1). This will allow you to attach the .cer file, and will ask you which certificate store to add the certificate to. Adding it to the Personal store works fine, and you should now be able to see it on the IIS and Windows certificate pages.
6 - Update Qlik Sense Enterprise to use the newly added certificate
To add this certificate to a proxy for use, we'll need the Thumbprint for the certificate, which is accessible after opening the detail page for the certificate and clicking on the "Details" tab.
The Certificate detail view lets you get to the Thumbprint on the Detail tab
The thumbprint is a list of two-letter words, as shown below - you will need to copy this...
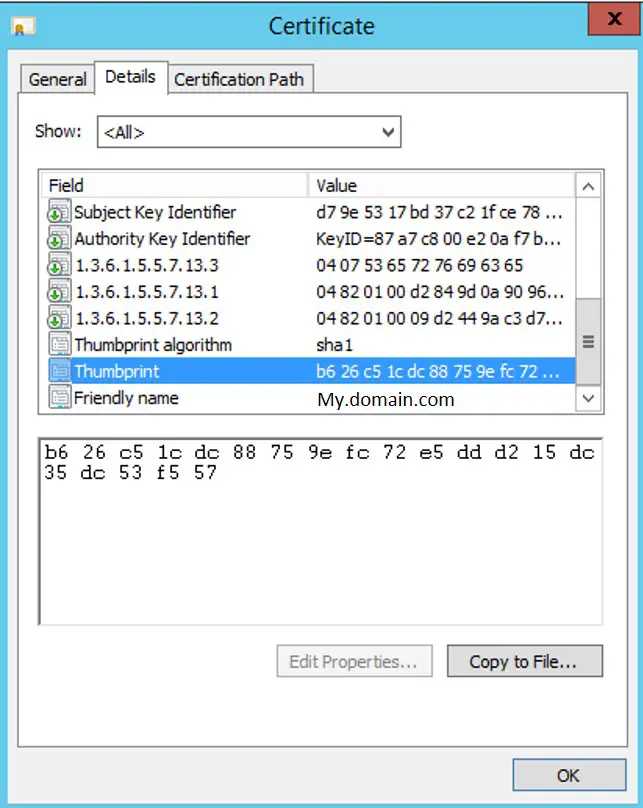
The certificate thumbprint is on the details tab
...and paste it into the QMC in "Proxies > Central > Security > SSL browser certificate thumbprint", then Apply.
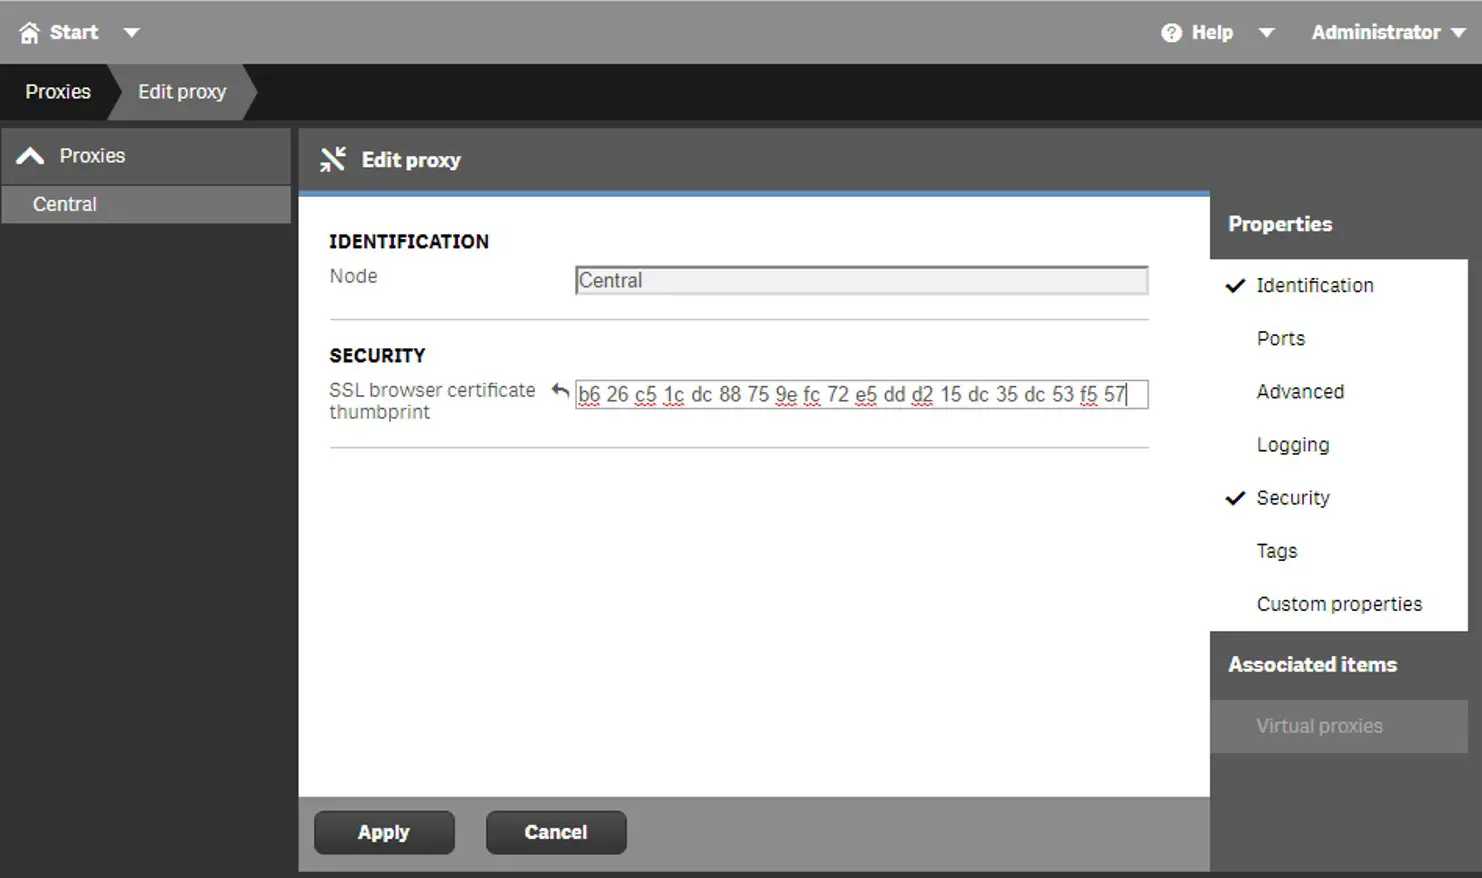
Update the Thumbprint in the QMC
Once you've cleared your current session, you should be good to go - no more SSL errors! I'd recommend not removing any existing certificates unless you have good reason, as it's not a quick fix to correct certificate errors on a QS install.
For the official Qlik-side guide, the following is still relevant: Qlik Sense 1.1 Help - Changing proxy certificate
Other ways to generate a CSR without using IIS
If you're able to install third party software onto the box, then you can generate a CSR through that software and import the resulting certificates via Microsoft Management Console (mmc).
Two such options for generating these CSRs are:
-
OpenSSL - a comprehensive tool that's primarily built for Linux, although some in the community maintain binaries for windows. Requires command line inputs
-
DigiCert Util - a very user friendly GUI that doesn't require any command line inputs